Editors Note (2025):
This post is a combination of my original writings from 2012 and 2013, originally published on my old Blogger site. Back then, I was experimenting with Hackintosh builds and documenting my progress. I’ve decided to publish this now, in 2025, as a retro review and throwback to those times. The text has been translated from Croatian to English using machine learning while preserving the original spirit and style.
Hackintosh: From the First Attempt to Mavericks
Hackintosh – that magical blend of Mac OS X on a regular PC – was a project that followed me for years, from my first multiboot setup to testing the back then latest OS X Mavericks system. This post combines all my adventures, attempts, and successes in creating the perfect Hackintosh.
What is a Hackintosh
A Hackintosh is a computer running Mac OS X (any version) on non-Apple hardware. According to Wikipedia and the OSX86 portal, Hackintosh allows OS X to run on supported hardware, though not all hardware is compatible. For example, AMD processors aren’t supported in “vanilla” versions of OS X, while Intel processors are. Additionally, BootCamp isn’t supported because it requires Apple EFI, and some chipsets and motherboards may have issues due to missing kexts (drivers).
First Attempt: Multiboot with Four Systems
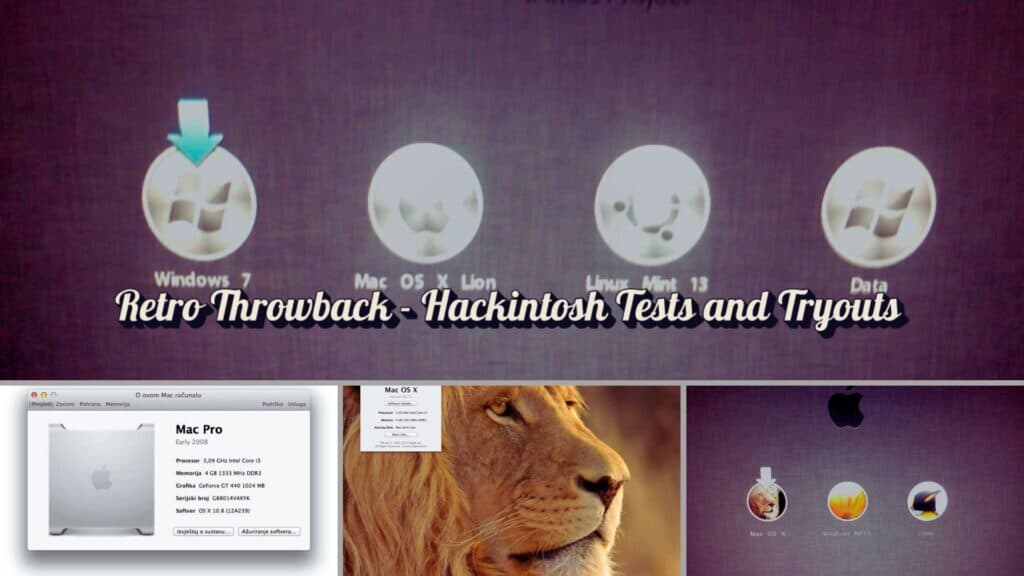
My first Hackintosh project involved installing OS X Lion, Windows 8, Linux Mint 13, and OS X Mountain Lion on one computer. The hardware configuration was as follows:
Processor: Intel Core i3-2100 @ 3.2 GHz
Motherboard: AsRock H61M-VS
Graphics Card: Palit GeForce GT440 1GB
RAM: 4 GB
Disk: 500 GB Seagate Barracuda
The disk was partitioned as follows (note from 2025 – SDA is Linux/Unix noting of partitions and partitioning of drive, as there was only one Hard Drive it was SDA, but if there are more drives then they might be named SDB etc.):
Sda1: Windows 8 (NTFS, 100GB)
Sda2: Backup and data (200GB)
Sda3: OS X Lion (HFS+, 100GB)
Sda4: Extended partition for Linux Mint and OS X Mountain Lion
The installation process was an interesting adventure:
Windows 8 – Installation went smoothly except for a sound driver issue.
Linux Mint – Everything was recognized immediately, including additional graphics drivers.
OS X Lion – Installed using the iAtkos L2 DVD, which includes necessary kexts for the graphics and sound cards.
OS X Mountain Lion – Installed using Niresh12459 distribution.
The result? The multiboot worked great except for the sound kext issue with Mountain Lion.
Second Attempt: Dualboot with Windows 8 Pro
After a two-month break from multibooting, I decided to simplify things with a dualboot setup featuring Windows 8 Pro and OS X Mountain Lion. The Windows installation went smoothly with the sound driver installed afterward. For OS X, I used the Niresh12495 distribution of Mountain Lion, which includes network drivers and a sound kext.
The biggest challenge was the sound kext, which I resolved by updating the VoodooHDA driver to version 2.7.3. After that, everything worked perfectly, including an upgrade to OS X 10.8.2.
Third Attempt: Mavericks vs Windows 8.1
Third time’s the charm! This time my goal was to test OS X Mavericks (10.9) and compare it to Microsoft’s back then latest operating system – Windows 8.1 Professional. The hardware remained the same as in previous attempts with minor tweaks (additional fans for cooling the motherboard; Bluetooth adapter removed as it stopped working).
The disk system for this installation was organized as follows (note from 2025 – SDA is Linux/Unix noting of partitions and partitioning of drive, as there was only one Hard Drive it was SDA, but if there are more drives then they might be named SDB etc.):
sda1: System Reserved (for Windows 8.1)
sda2: Windows 8.1 Professional
sda3: OS X Mavericks (HFS+ Journaled)
sda4: Work disk (Data disk, NTFS)
The Windows installation went smoothly after updating graphics drivers and installing the sound driver (VIA sound chip caused some headaches). Before installing Mavericks, I had to install Mountain Lion to ensure compatible network and sound drivers (VoodooHDA). After hours of downloading Mavericks from the App Store via my iCloud account set to the US region, I created a bootable USB installer using a reliable tutorial.
The Mavericks installation was straightforward after formatting the partition as HFS+ Journaled using Disk Utility from the installer media. The first boot went flawlessly, followed by system setup, network driver installation, and sound kext setup.
Conclusion
The latest iteration of this post was written on my current Windows 11 PC while reflecting on my earlier Hackintosh experiments – proof that every attempt brought valuable experience! Keep an eye on the return of this classic 😉 as I plan to provide a detailed comparison of Mac OS X Mavericks with Windows 8.1 in an upcoming retro throwback post!
Acknowledgment:
This post was reviewed, proofread, and refined with the assistance of Perplexity AI Pro from Revolut Ultra Subscription and the o3-mini Reasoning model within Perplexity AI Pro. Their support helped bring this retro throwback to life while preserving its original spirit and style.
Cover image was created using Canva and archives of personal images from back in days.
